Showing posts with label Colette patterns. Show all posts

Monday, March 10, 2014

Two simple tops

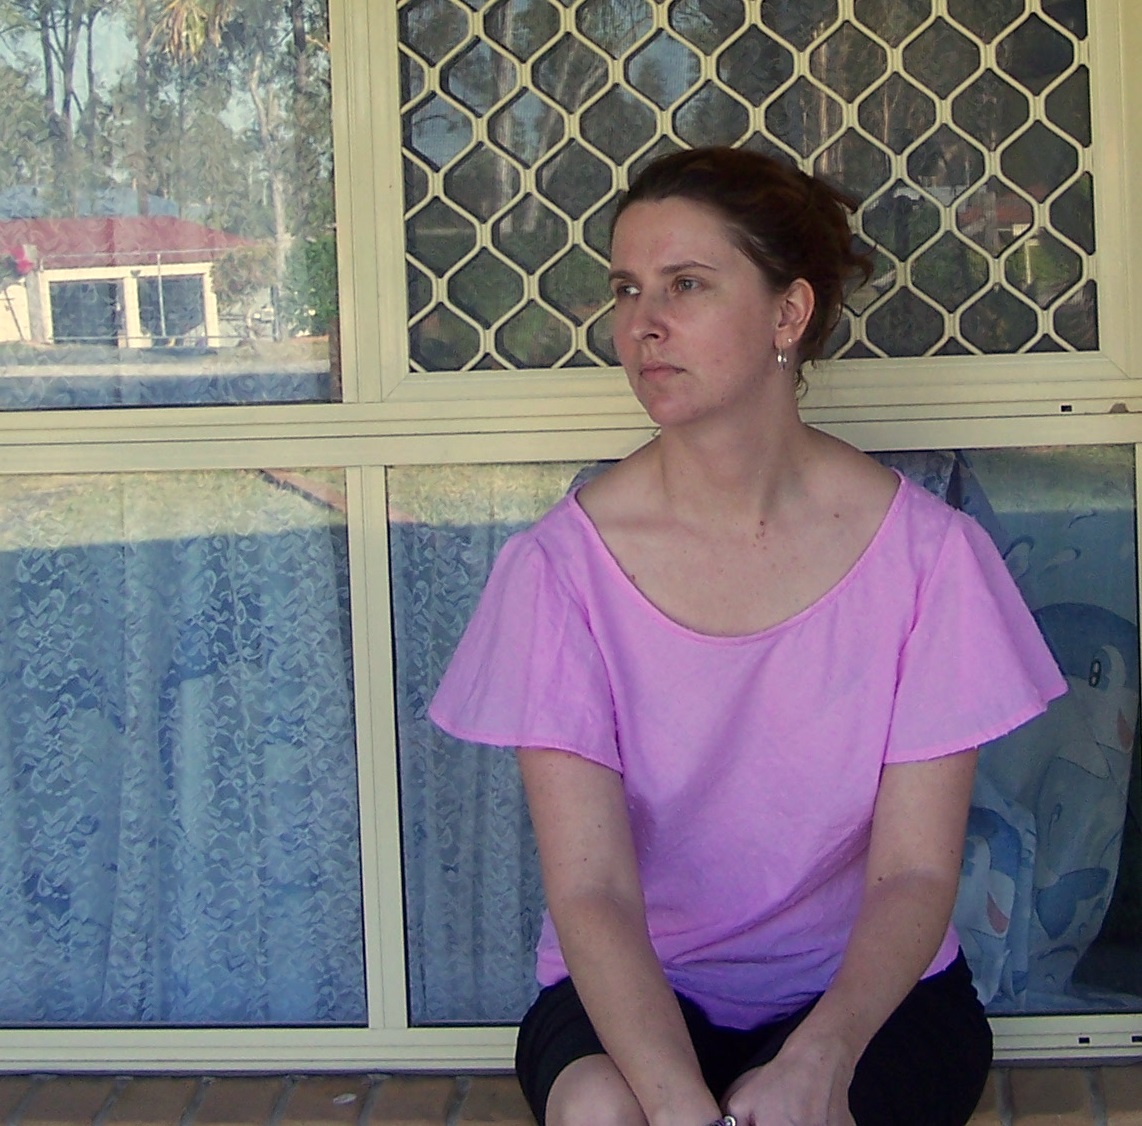
I was able to cut out this Sorbetto tank top (sans the front pleat) when I was cutting out this skirt. It sat around for weeks because I did not have any fabric suitable for using as bias binding. The sateen is very lightweight and I did not have any black voile or similar lying around. The fabric that I found I also used to make the next top.
I made my first  (unblogged) version of Burdastyle magazine #103 from 5/2011 last year. I am always on the look out for pull on woven tops as I seem to wear these a lot for work. It has raglan sleeves and 4 small pleats at the centre front.

When I made it last year, I actually made it in a length between #102 and #103 (which are essentially the same pattern, as well as #104 the dress - no idea why these are deemed three separate patterns). Version 1 had the split sleeves but for this version I just sewed the seam shut.
The top can be worn belted or not. You can see how it blouses over the belt in the photo above. It does look a little maternity when not belted but I like how cool and comfortable it is this way.
These were very quick makes. I made both of them in a couple of hours. I found the world's easiest way of getting the perfect length of bias tape - I just sewed on most of the way around and then followed the directions here - just without the glue. No idea how I was doing it previously - just bumbling along until it looked right

Sunday, September 23, 2012

Sorbetto in lace

Even though I was feeling a little burnt out (work and stresses at home) I decided to make my lace Sorbetto rather than hitting the couch on Friday.
 

The lace is underlined in a cotton broadcloth that I purchased at the same time as buying this lace.  Next time I underline, I will look in the other fabric store in town for a nicer underlining fabric. Underlining this lace was a lot trickier than my black and white Sorbetto as well as a yet to be blogged lace dress for my daughter. It stretched out and I had to recut it before I basted it to the underlining.
 I had meant to cut the fabric the other way but it deson't look so bad this way either. I only bought 1m so not enough to recut. I cut the top without the pleat.
 I finished the edges with bias binding on the inside. I prefer the binding on the inside but it does make it easier for my bra strap to show.
If I do decide to make the Sorbetto again, I will add some flutter "sleeves" I think, for a little more sun protection at work.

Tuesday, September 18, 2012

Am I the last one?

To sew a Sorbetto that is. This was the fabric I was willing to sacrifice to see how the pattern goes before committing to a lace version. This fabric is actually a sheer voile but I underlined it with cotton broadcloth so it would be work acceptable and because I don't like wearing singlets to work in our humid summer.
 

It is a fabulous fit and not a wrinkle at the back - which is always a plus. So on to the lace Sorbetto. Bring on the school holidays. I need more sleep.

Thursday, January 05, 2012

Sewing the yoke on the Chantilly dress

The instructions regarding sewing the yoke lining down on the Chantilly Dress were quite brief - along the lines of fold the free edge of the top yoke lining under 5/8" and press...


This is what I did.

Stitch around the fold line (1.5cm = 5/8")
Notch the curve.
Finger press along the stitch line. Pin and check to see if the edges lined up.

Yoke is now lovely and curved. Take pins out and press or use pins to pin into place like I did!

You may also be able to see the understitching, another step that was not mentioned in the instructions portion of the pattern (although it is in the glossary).

Friday, December 23, 2011

My favourite project of the year, and the last one

We are off on our annual beach holiday following Christmas celebrations, so this is the last sewn thing I will make for 2011. The husband and I are invited to a NYE wedding and I wanted to make something really special to wear that could be worn to a variety of events. I already had the Colette Chantilly pattern sitting around for ever and a day,  and I bought some silk rayon chiffon to use for the shell.
The dress is underlined in black cotton batiste and lined in a purple rayon lining. The lining is left over from the bridesmaid outfits from my wedding 8 years ago. Speaking of my wedding, these shoes are the ones I wore for my wedding and I will probably wear them to this wedding. My only other heels are the shoes I wore to my formal in 1998!

 I plan to write up a review and pop it onto pattern review because I did experience some "glitches" with the pattern. Let's just say I wasn't as impressed with the pattern as other people have been. I felt like there were options for working with sheer fabrics that were not included in the pattern, and that I would have appreciated someone doing all the work sourcing the correct techniques for me.
 Still, I am happy with the final result. The dress is swishy, feminine and oh so lovely. It feels delightful to the touch and brings a smile to my face. It took a huge amount of hours, not that I was counting, and I took the easy option in many instances!
 As it is a lot shorter than I am used to, I used a narrow turned hem to keep as much length as possible.
As I was dealing with a very sheer fabric, I elected to underline all parts of the dress so that none of the seams would show through. The underlining technique I used for the skirt created a faux Hong Kong finish at the seams which is particularly pleasing. I remembered the technique was used by the Slapdash sewist but I first read about the technique in Sandra Betzina's Power Sewing. It is a method I am keep to try again, not just for sheer fabric, as it makes a great lined garment.

 The lining finished were the skirt starts, so all gathers are neatly contained and there is no show through. I like my linings to be fully attached, so this change satisfied that as well.
 Here is the inside shot. It could almost be worn inside out.
 It even looks great on a hanger.
Thanks for looking!

Saturday, November 26, 2011

Colette Taffy top

It took awhile to get these photos, but I finally got some taken. Having another occasion to wear version 2 of the Taffy top helped, but I had limited time to get ready for church and put dinner on the table, get the kids ready etc.
This Taffy blouse is made from a silk cotton voile that I have been hoarding in the stash for the perfect pattern. Since it is a very fine fabric with a fab print, I wanted a top with limited seams to break up the pattern. I had earmarked it for a kimono style top, but when I found this in the Colette book, I knew that this fabric would be perfect for it.


I made a size 4-6 and the sizing is good. I found it a little long for my liking, so I just made the hems a little deeper. Oh, and the only other change was applying the bias so that it was on the inside only. It probably made the neckline a tiny bit deeper than drafted, but the difference was only slight it probably is not worth mentioning.


The flutter sleeves are the highlight of the top. The really help to broaden my shoulders.

The fabric was being gobbled by my sewing machine, so I tried an old trick and started sewing from the middle of the seam. This is the first time in a long time I have done french seams and they really are a simple luxery. And it doesn't really add to the construction time.

Princess has been having a workout today. I am making some Chino coloured shorts from the Jalie jeans pattern and there has been plenty of topstitching to do. Using such an old machine has been taking me back to learning to sew on my Mum's 70s era Elna.. It has been a weird experience because Princess is just as cranky as the Elna (such as having a whinge when the needle is not down when starting to sew). Makes me appreciate that I sew in the modern era, with being able to move the needle position and adjustable speed. Still, Princess is breezing through the topstitching, which is her only function for me.

Sunday, November 20, 2011

Fairy Floss Taffy blouse and my new baby

The Colette Sewing handbook arrived in perfect timing for me. Not only is it the busiest time for me professionally, I have been busy with many social outings. Other introverted people will understand how tiring it is to have additional social occassions. This weekend we had a work Christmas party, 21st party and a games day. Plus I had to do my normal chores and Sunday school commitments.
The Taffy top is delightfully simple yet elegant enough for an evening out in the big smoke.

 The pink swiss dot cotton is my test garment. I wore it today to the games day at my house, and Sunday school. I will post my other version soon. It never made it to the big smoke but I wore it out last night to the golf club for the 21st.

I am tired. Two late nights plus socialising have zapped my energy. I actually dyed this fabric. It was a off white and I was aiming for a fuchsia, but ended up with a fairy floss pink. It was been sitting around my sewing room since it is a little girly for the blouses I wear to work. Now that I ahve made it up, I am really enjoying the colour.


And here is my new baby - a HG Palmer Princess. This baby was originally used at a uni in Brisbane, but was rescused by DH's BIL from being sent to the dump. I sent it in for a service and am told she is in fantastic condition, hardly used. I was delighted that she is a rebadged Janome machine, making all my machines made by Janome. She sews through 8 layers of denim withhout noticing, so perfect for the jeans I plan to make.