Friday, September 03, 2010

SSS Day 3

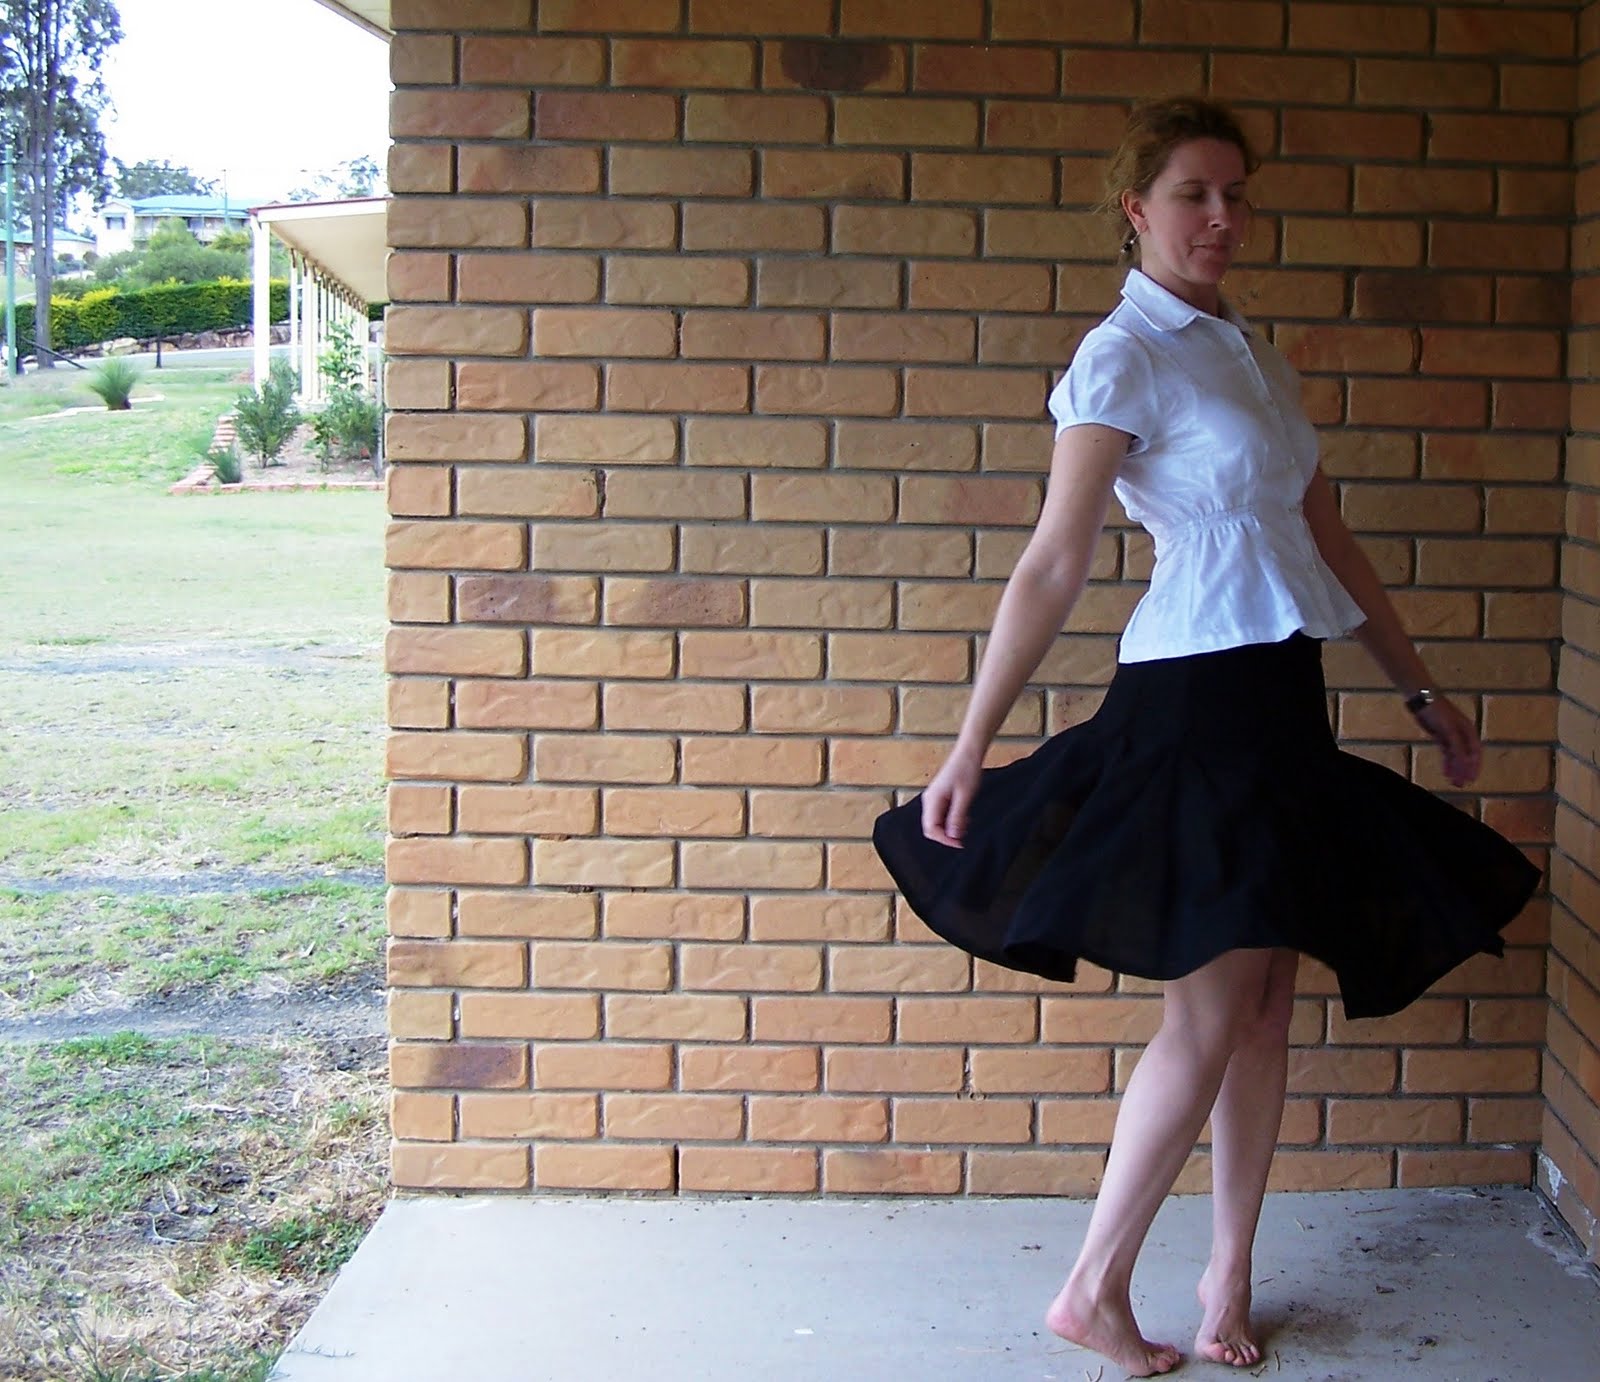
Outfit: Rayon elastane tee from modified Kwik Sew pattern (changed the neckline) and rayon linen blend bias cut skirt.

Plans: School drop off, cleaning, maybe some sewing or pattern tracing.

Thoughts: It is nice to see how my sewing has evolved. A few years ago, I just about only made elastic waisted skirts. They were so easy and quick. Now I prefer skirts with a wide waistband (or yoke, not sure which it is. Burda says yoke) and invisible zipper.

Thursday, September 02, 2010

SSS Day 2

Outfit: Polka dot peasant top from thrifted fabric and rayon elastane knit skirt (modified Kwik Sew pattern). I also had a green cardi that I had made this morning when it was chilly.

Plans: Helping out with morning groups at school, grocery shopping, general chores around the house and tutoring after school.

Confession: I couldn't find any shorts or pants suitable for exercise, so I wore some store bought ones with a tee that I made to my PT session.

Wednesday, September 01, 2010

Self Stitched September (SSS) Day 1

Outfit for Day 1: Burda blouse (white and silver) with shirred waist, Burda straight black wool pants and Kwik Sew metallic cardi.

Plans: School drop-off, buy some zippers, home to sew, and regular chores like washing and dishes.

Thoughts: A little dressier than I would normally wear for sewing and chores, but I wanted to start off the month with a bang rather than a fizzle. I will have to change this arvo as I have a personal training session at work.

Here is the first garment finished this month.

Burda gored skirt, like my jade version, again with godets. I actually made the godets a little longer this time, and added them at the side seams.
Fabric is a rayon polyester faille ( I think). It has been in the stash since my uni days, so I have to set up my old computer to look up my fabric stash record if I wanted to properly identify it exactly.
I love twirly skirts.

Saturday, August 21, 2010

Cinderella

One costume, suitable for a princess and pirates party, as well as bookweek.
I have always had nerdy hair. I have always curled it, starting with braids, moving to foam rollers, bendy sausage curlers and also heated rollers and curling irons. My hair went curly naturally for a few years but lately it has been extra stupid. I came across this tutorial for comfy curlers that you can sleep in.

http://lifewithmonkey.wordpress.com/2007/09/03/hair-curler-sewing-tutorial/

I made my own yesterday and wore them to bed last night.


Here is my hair do today.

Sunday, August 01, 2010

Bright Blue Burda jacket #122 from 6/05


I have not ever really been a jacket person. Of course, I have a denim jacket or 3 and jackets for when it is freezing. I was hooked after my recent boucle jacket adventure and scoured all my old Burdas for a jacket with a small notched collar that could be worn open or closed. This pattern also has a two piece sleeve and two sets of patch pockets.

I used a stretch cotton drill that I had orginally bought intending to dye and make shorts for Scott. I decided that this would be the perfect wearable muslin fabric. I did get lazy and use white thread throughout, becuase I only had enough matching thread for the topstitching, hems and buttonholes.

I chose to add some darts up the back for a better fit (I must have found a similar jacket pattern and just traced it, I also eliminated the shoulder dart). The pattern does not have a lining, and I chose not to line it, but it would be rather easy to add the lining (simply deduce the shape of the facings from the front and back pieces and then add a seam allowances, plus a pleat at the centre back).

I used Debbie Cook's perfect pocket tute and the pockets are pretty good. I went out and bought some shoulder pads, but because there is no lining, I decided not to sew them in after all. I thought it would annoy me having to adjust them when I put my jacket on and off, though I may add them at a later date if I desire.

I used my blindhem stitch for the hems, which turned out rather nice (a lot better than topstitching the hems would have).

I am pretty happy with this jacket. When I make this again, I will sew in a lining and maybe I will curve the front lower edges. I found another Burda pattern that is very similar to this, including the already drafted back darts. Interestingly, I must have skipped over that one as it includes 3 welt pockets.

Saturday, July 17, 2010

Two white Burda blouses

For the first one, I used #107 from Burda Magazine 7/2005. This is a pattern for a princess seamed blouse with vee neck, simple collar and puffed sleeves.

I traced the size 38 and adjusted the shoulder seams for my sloping shoulders. The fabric is a self stripe cotton fabric.

The original pattern includes a waistband, which I did not want, so I extended by the amount the waistband would have lengthened it by (that is, 5cm). I also changed the back piece into two so that it would also be princess seamed. I found a similar pattern with princess seams on the back and traced the new line - pretty easy.
I changed the sleeves as well. The Burda one has a slit in the sleeves and you finish it with ties made from bias binding. I wanted to add a cuff. I did not calculate the cuff width correctly, so I ended up with a narrow cuff. It still looks fine though.

I will probably use this pattern again, but I have a few others that I want to try first. There is a couple in Burda 5/2010 that I am keen to make up and I am currently drafting up some anthropolgie blouse knockoffs as well (using a Burda shirt as a base!)


Next up is #107 from Burda 6/2008. I love love love this pattern and it comes in a dress variation, which I plan to sew sometime in the future. Again, I traced the 38 and adjusted the shoulder seam. I used a white cotton lurex fabric which was sometimes a nightmare to sew (funnily it was fine when I used some in DD's coat, but the lurex kept catching, grrr).
The only variation to the pattern was the shirring. The original is a elastic casing sewn on the outside, but I thought it would be easier to gather with shirring elastic (and it was very easy).
I love the sleeves - pleats at the hem for a slightly puffy sleeve.

I can't wait to try the dress version of this.

Thursday, July 01, 2010

Fun pants

The other night I was going out to a family catch up and I wore a pair of grey pants that I had made. Combined with a button up shirt and a blue jumper, I was feeling a little granny-sih. I had taken my new jacket with me, but it ended up being warm enough without it on.

Anyway, I was thinking that I needed more fun winter stuff. Bright colours that enhance my mood, not dull grey which leaves me feeling a little down. So enter the fun pants:
Don't you agree that they are cheerful. It makes you want to have fun. Yee haw

More work pants for me, an essay on buying fabrics online and some fitting issues

This is another version of the straight legged, fly front Burda pants, with slanted pockets. This time I used a wool blend from Fabric Warehouse Sydney. I have been doing a lot of online fabric shopping of late. It can be the only way to access some quality fabrics without travelling too far. The only problem is having to rely on the descriptions to be accurate, and being willling to work with something that is not exactly what you envisioned.

Take this wool blend fabric. I have been looking for a black wool fabric that is not too exxy for a while. I was hoping to stumble across a black wool crepe. The first time I purchased some (also from FWS) I ended up with some very lush but heavier weight than I wanted fabric. It is going to be a jacket in time, but I needed black pants. While I did not manage to win the auction, I was given a second chance (woo hoo). And while the fabric is fabulous, again it is not exactly what I wanted. Actually, when I first recieved it, I thought it was navy. After comparing it to some navy and black thread, it is not navy, but I don't think it is quite black either. A very dark navy maybe.

Anyway, I am pretty happy with the results. I have some whiskers happening here - I did not clip under the fly, so maybe that has contributed. When I look at the pictures, I am thinking maybe the straight legs are not the best choice for me after all. Or maybe it is okay in a casual fabric, but not a dressier fabric. I am halfway through sewing a red version, but my next pair might be the wider leg version again.
Okay, fitting now. Most of my fitting issues I can live with. They are not uncomfortable so that is why I have not tried too hard to address it. Yesterday I was researching how to fix the pooling of fabric that happens in my lower back in tops.

It looks a little bit like I have swayback issues, but I don't have a swayback. Through reading, I have found people have similar issues when they have a small waist and large bottom. That sounds like me. I took some pictures of the different alterations* I tried. (*only pinned out).


First I pinned out a diagonal wedge, as that is how the back looked like it was pooling to me. More is pinned out at centre back and it tapers out at the side seam. It did get rid of the wrinkles at the back pretty well, but I was unsure if I did the right thing because I did not find any alterations done like this online.

Above I have pinned out a wedge going down the centre back. I could still see wrinkles pointing up and out with this, but again I have only pinned it so it is not really a true indication.


Above is the traditional sway back tuck. It worked pretty well too from the back, but not from a side view. Actually, none of these look any good from the side and they were affecting the front as well.
I had a look at some of the dresses that I had made earlier and realised I did not have any pooling problems with them. They had darts in the back. So I tried pinning out some darts. Yes, they are in the wrong placce.

While it doesn't look brilliant in the photo, it was the only method than looked decent from the side view.
So maybe for now I will choose shirts and jackets with princess seams or back waist darts or add shirring there until I figure out the best solution.

Monday, June 28, 2010

Black and white boucle jacket

I had wanted to make myself a jacket this year, and I have finally gotten around to making one. I actually bought the fabric at the start of the year while I was on holidays, but I did not have a pattern in mind. I would have bought more if I had known I was making this jacket, because the pattern that I chose comes in a longer coat version with welt pockets that looks great.

The pattern is #111 from Burda 9/2005. It has a rounded 60s style collar, 2 piece raglan sleeves and the original has a fur collar and cuffs, which I did not want. I wanted a simple design because I am not a huge fan of working with boucle and did not want too many seams incase I had to unpick it (it would have been painful and messy). As you can see, it is quite a boxy fit. I could have played with it but I wanted to stick with the integrity of the design as much as possible.


As I did with Jalisa's jacket, I underlined with flannelette, for warmth and to give the fabric more loft. I chose to add 1 layer of flannelette in the collar as well, which ended up giving the fabric the right thickness that I wanted but caused me to make an error (I will explain soon). I ended up using a cotton sateen (left over from my applique dress project) to line the fabric with. I detest polyester lining fabric and wanted an injection of colour and this made the jacket even warmer, so postive all around). I used a bagging out method to do the hems, but since then I have found an even better way of doing it at the fashion incubator. The way I did it makes the lining the same length as the outer shell, but the FI way reduces the length of the lining hem. I did this for the sleeves, not shown, but did not think to do a search for a better way of doing the hem.

This is a picture of the sleeve. I love the way it is inserted into the armcyce. You sew the undersleeve seams and the side seams of the jacket. Then you attach the sleeves to the front and back. Then you sew the shoulder seam and the top of the sleeve seam. It ends up with a nice point where the seams meet.
The lining shows it a little clearer.
The only thing I did wrong was miscalculate how much turn of cloth I would need. You can see the undercollar as I did not make the upper collar big enough.

Monday, June 21, 2010

Who is in?

'I, (Marie), sign up as a participant of Self-Stitched-September. I endeavour to wear only handmade or refashioned item(s) of clothing every day for the duration of September 2010'.

Join up at So Zo.

I had better get stitching.